


How to Use a Salt Spray Test Chamber: A Complete Guide

Introduction
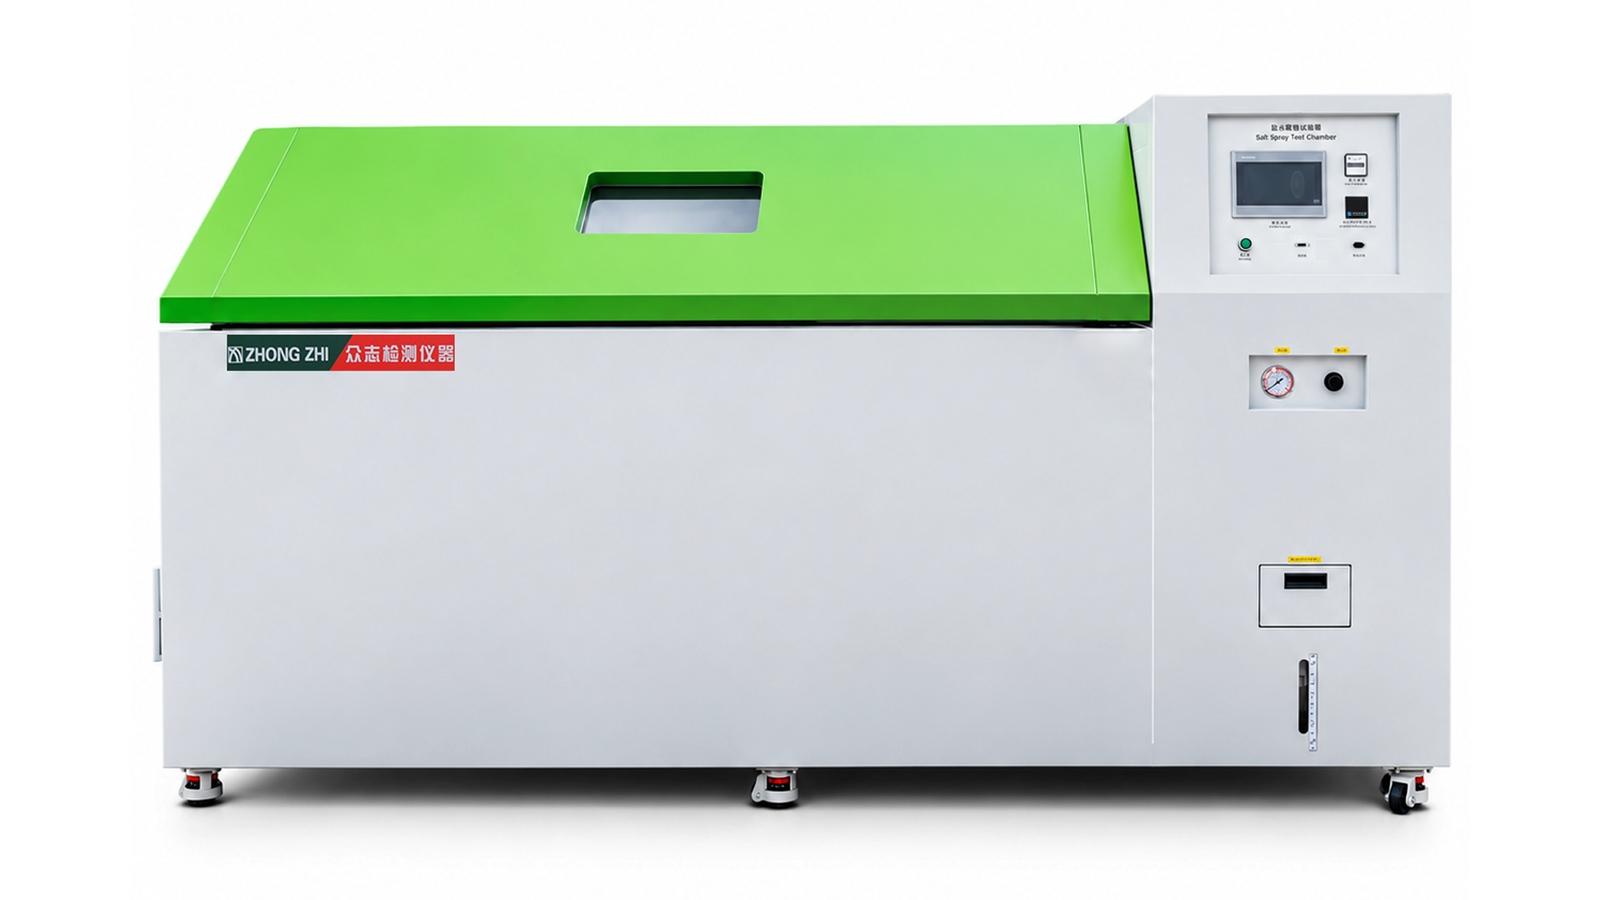
How should a salt spray test chamber be used? In this guide, Zhongzhi Times explains the basic operation, working principle, and testing procedure of a salt spray test chamber to help users better understand how to perform salt spray corrosion testing correctly.
1. What Is a Salt Spray Test Chamber?
A salt spray test chamber, also known as a salt spray tester or salt fog test chamber, is a type of environmental testing equipment used to evaluate the corrosion resistance and reliability of materials, coatings, and products under controlled salt spray conditions.
By creating a controlled corrosive salt mist environment, the chamber accelerates the corrosion process and allows users to evaluate the protective performance and durability of test specimens.
Salt spray testing is one of the commonly used artificial climate environmental tests, together with damp heat and mold testing. It is widely used in industries such as electronics, electrical components, automotive and motorcycle parts, hardware, plastics, FPC flexible circuit boards, electroplated products, metal coatings, and surface treatments.
Depending on the test requirements, salt spray testing can help identify coating defects, corrosion resistance, and the long-term protective performance of treated surfaces.
2. How Does a Salt Spray Test Chamber Work?
The working principle of a salt spray test chamber is relatively straightforward.
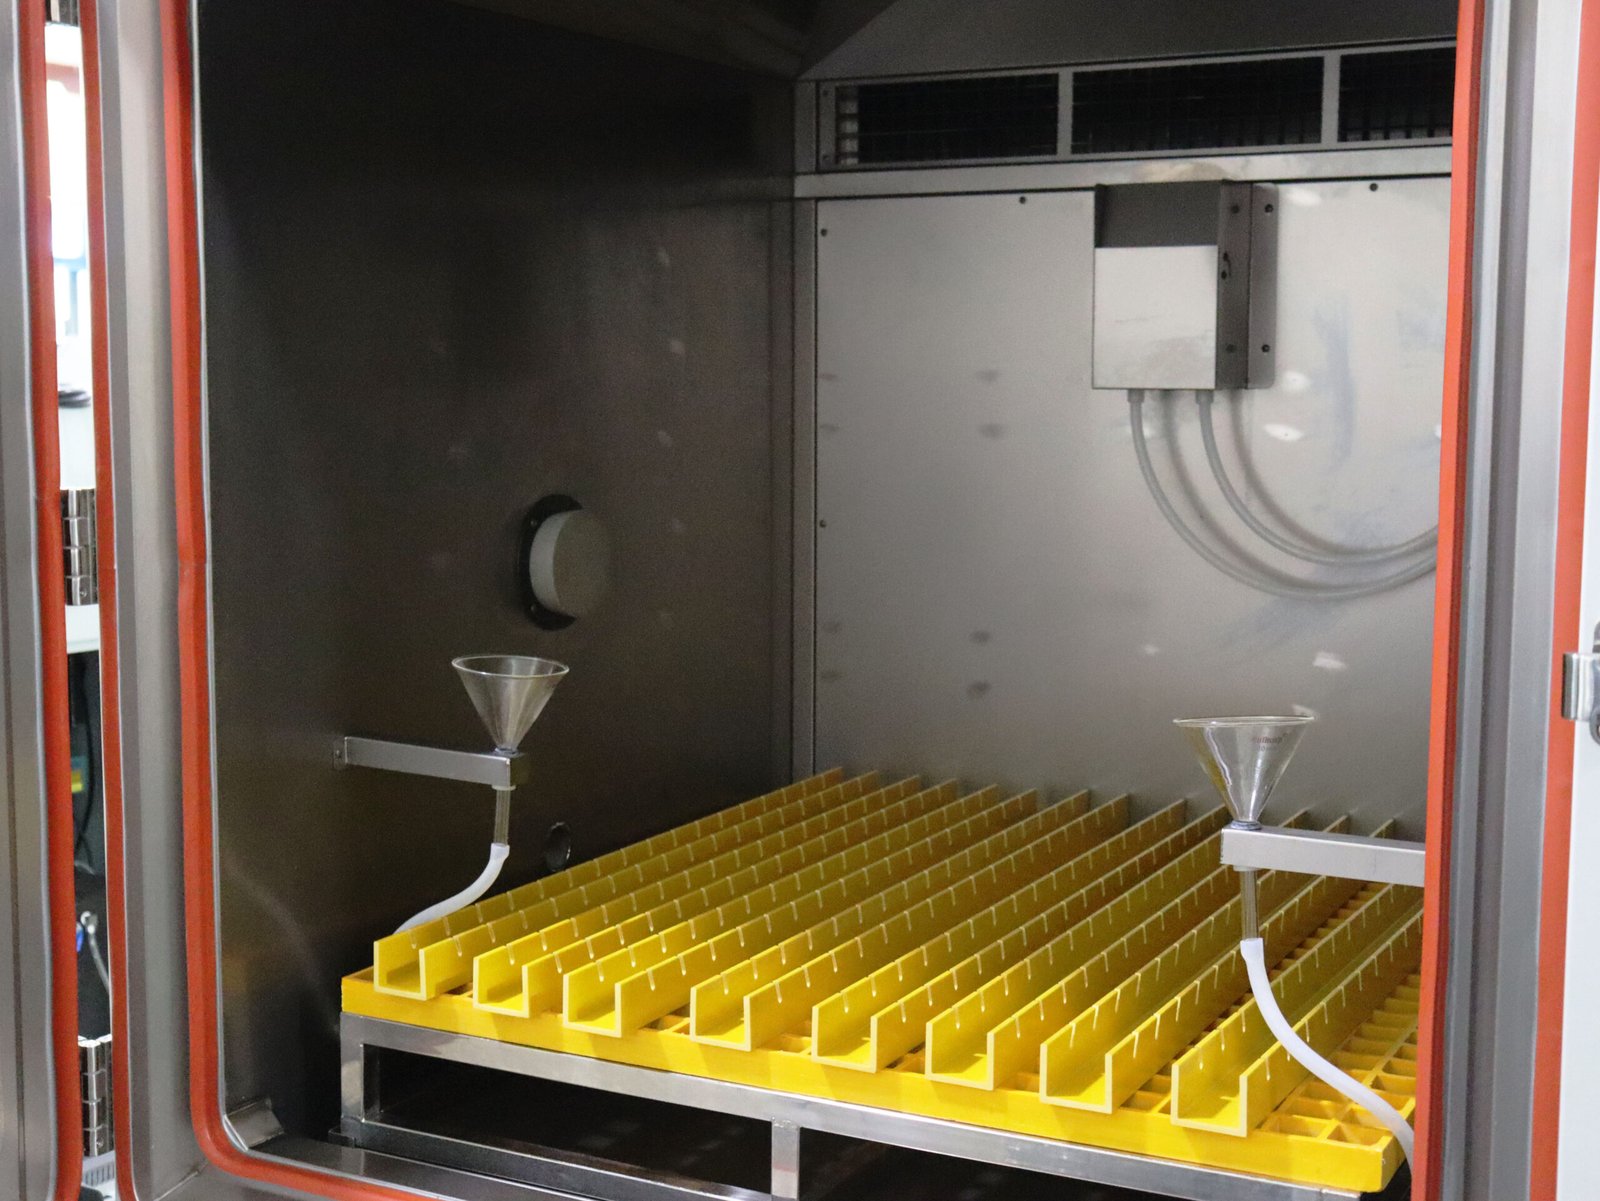
The equipment uses compressed air to atomize a corrosive salt solution into a fine mist. The generated salt spray is distributed throughout the test chamber and settles onto the surfaces of the test specimens.
During the test, the specimens are exposed to the controlled salt spray environment for a specified period. After the required test cycle is completed, the specimens are inspected for signs of corrosion, such as rust, coating degradation, blistering, or other surface damage.
3. How to Use a Salt Spray Test Chamber
The test duration and operating parameters should be selected according to the applicable testing standard and the specific requirements of the product or material being evaluated.
Before starting a salt spray corrosion test, follow the equipment manufacturer’s operating instructions and the applicable testing standard. The basic procedure is as follows:
Step 1: Connect the Power and Compressed Air
Connect the salt spray test chamber to the appropriate power supply and connect the compressed air line to the air inlet of the equipment.
Step 2: Add Purified Water
Add purified or deionized water through the water inlet until the water level reaches the specified position above the low-water-level mark.
Step 3: Connect the Drain and Exhaust Pipes
Connect the drainage pipe and exhaust pipe correctly. Then add water to the water-seal tank up to the specified level to help prevent salt mist from escaping during operation.
Step 4: Prepare the Salt Solution
Pour the prepared salt solution into the solution replenishment tank. Add water to the wet-bulb cup, then place the wet-bulb thermometer wick into the cup so that the wick remains properly wetted during testing.
The concentration and preparation of the salt solution should comply with the requirements of the applicable test standard.
Step 5: Clean the Test Specimens
Before placing the specimens into the chamber, clean their surfaces with an appropriate solvent to remove oil, grease, dust, and other contaminants.
Avoid using cleaning methods that may damage the coating or surface condition of the specimens, as this could affect the test results.
Step 6: Place the Specimens and Set the Test Parameters
Place the specimens securely on the test racks and adjust them to the required testing angle.
Set the required test parameters through the control panel, such as the test temperature, spray conditions, and test duration. Once all parameters have been confirmed, start the salt spray test chamber.
During testing, ensure that the specimens are positioned correctly and that the salt mist can reach the surfaces being evaluated.
Step 7: Perform the Salt Spray Test
Run the test according to the specified test period and applicable testing standard.
During the test, monitor the operating conditions of the chamber to ensure that the equipment remains within the required parameters.
Step 8: Clean and Dry the Specimens
After the test is completed, carefully remove the specimens from the chamber.
Rinse the specimens with running water to remove salt deposits from the surface, then gently wipe away any remaining residue.
If required by the testing procedure, dry the specimens at approximately 80–100°C for about 30 minutes before conducting the final corrosion evaluation.
Conclusion
Proper operation of a salt spray test chamber is essential for obtaining reliable and repeatable corrosion test results. From preparing the salt solution and cleaning the specimens to setting the test parameters and evaluating corrosion after testing, each step can affect the accuracy of the final results.
For consistent testing performance, always operate the equipment according to the manufacturer’s instructions and the requirements of the relevant salt spray testing standard.
Whether you are evaluating metal coatings, electroplated components, automotive parts, electronic products, or other corrosion-resistant materials, a properly configured salt spray corrosion testing chamber provides an effective solution for accelerated corrosion resistance testing.
